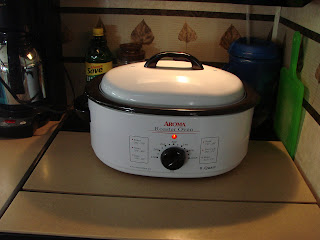
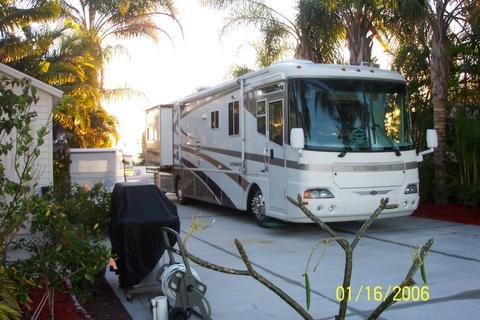
The first test of my idea for my web cooking site for RV'ers.
Assemble your ingredients. You will need:
3 cups of self-rising flour (yes make sure it says self-rising on the bag!)
2 to 3 tablespoons of sugar
12 oz. of any good lager beer.
Here is good place to experiment. Use seasonal specialities, unique imported beers, local microbrewy offerings. Be bold for goodness sakes. I brought this Blue Moon in Edwardsville, IL where the college kids imbibe great quantities of this served in glasses with slices of orange in them. It does have a slightly citrus note to it. I have also made this with MGD. I could fib and say that I send Paulie to the grocery store to buy beer just for bread, but you will all laugh at me and snicker to yourselves...Pffft! So I enjoy a cold one now and then!


 Now slowly pour in the beer. Reminder...only use warm or room temperature beer. And, no, do not warm up the beer in the microwave...just don't put it in the cooler or fridge. Again, you can use cans or bottles, it's your bread yanno.
 A closer look...I need to mix just a bit more here...
Flop the sticky dough into a greased pan. I am using my old faithful silicone bread pan, only 'cause I didn't bring a regular bread pan for goodness sakes. I don't like the silicone cause it bulges in the center. I use Pam baking spray with flour in the silicone pans.
 Smooth out the top...I like it lumpy...it seems more homemade or "rustic". All right, no comments on the brown edges on the pan...it is a well used staple in my kitchen and it was a cheap one to boot.


I just had to try it so I slathered it in margarine (I hate margarine, which is all Paulie wants to use...I do have real butter in the freezer...) and blackberry jam. Ohhhh.....
 It's great!
 See, I have NO self-control. I just had to eat a big bite. Then I sat down and ate this with a french press brewed cup of coffee with cream. Oh my. So. Good. Paul came in and he whacked off a hunk. He only put that crappy fakey margarine on the bread and then had the nerve to say it was...."well, you know...bland" Ass. From now on I shall refer to him on this new site as "The Polish Prince". He doesn't deserve to be named.


No comments:
Post a Comment